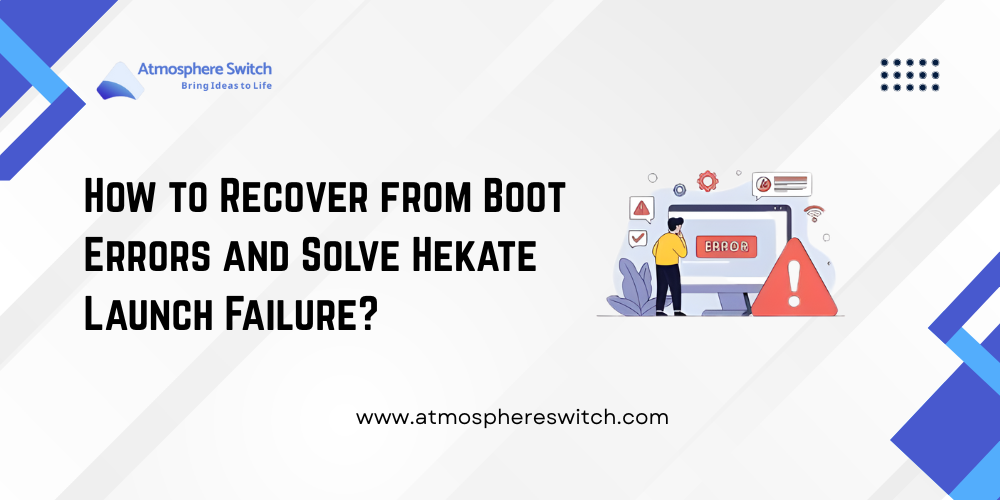
Introduction: How to Handle Boot Errors in Hekate
Dealing with a boot failure on your modified console can feel like hitting a brick wall. That sudden black screen or error message can be alarming, but don’t panic! In 99% of cases, the problem isn’t a dead console but a simple file configuration or timing error.
The key to fixing a Hekate launch failure is methodical diagnosis. Since the Atmosphere Switch system relies on a chain of independent components the RCM injector, the Hekate payload, and the SD card files we need to check each link one by one.
This guide is designed to walk you through that diagnostic process. We’ll help you pinpoint the exact failure point, whether it’s a corrupted file path on your SD card or an issue with your payload injector. By following these steps, we’ll get you back into the Hekate bootloader and enjoying your custom firmware in no time!
Key Takeaways
- A Hekate launch failure is usually a software or file structure problem, not a hardware fault with your console.
- The three most common causes are an outdated Hekate payload, corrupted files on the SD card, or a failed entry into RCM (Recovery Mode).
- Always back up your entire SD card before attempting any file system cleanup or formatting to prevent data loss.
- Ensure the Hekate payload file (.bin) is the absolute latest version, as older versions can fail on newer console firmware.
- The first diagnostic step is always confirming a successful entry into RCM mode, typically indicated by a specific device ID when connected to a PC.
What Is Your Error State Right Now?
Before we start fixing, we need to understand what exactly is broken. Diagnosing the failure starts with observing your console’s behavior immediately after you attempt to launch Hekate.
Is the screen remaining black? Are you getting a specific error code? Is the payload injection tool on your PC failing, or is the console rejecting the payload? Pinpointing the exact moment the process stops will drastically narrow down the troubleshooting scope.
This initial observation will tell us whether the failure is related to hardware communication (the injector) or software logic (the SD card files).
Why is RCM mode the critical first step?
Entering RCM (Recovery Mode) is the fundamental prerequisite for injecting any custom payload, including Hekate. Without a successful RCM entry, the console’s processor simply will not listen for external code.
This is why it’s the critical first step in both the launch and the recovery process. If you are getting zero response from your payload injector, the failure is almost certainly happening here. The console is essentially booting into its normal operating system or remaining completely powered off because the hardware pin short was unsuccessful.
You must confirm RCM mode is active before troubleshooting any files. To check this, you should connect your console to a PC while attempting the RCM entry sequence. Use a recognized payload sender application like TegraRcmGUI.
If RCM is active, the application will change from saying “No RCM device found” to reporting a specific “RCM device detected.” If you do not see this detection, stop file troubleshooting and focus entirely on your jig and timing.
A faulty or improperly seated jig is the number one physical cause of Hekate launch failure. Even a slight misalignment can prevent the necessary pin short, leaving you with a console that appears dead but is merely waiting for the correct hardware signal.
How do I recognize a failed payload injection?
A failed payload injection is easy to recognize because the error manifests immediately on the sending device (usually your PC or a dedicated injector). The console screen will typically remain black throughout this process.
On your PC, the payload sender application will display a clear error message or simply revert to its idle state without ever showing the “Successfully injected payload” confirmation. This tells you that the communication link between your PC and the Atmosphere Switch console was broken or rejected.
Common reasons for this failure include: a faulty USB cable that cannot sustain the data transfer; a Windows driver issue where the PC loses the RCM connection during the transfer phase; or an overly large or corrupted payload file that the RCM processor rejects.
If you repeatedly get this error, try a different, known-good USB cable first, as they often fail unexpectedly. If that doesn’t work, re-download the Hekate payload from the official source, as corruption during download is common. This type of error is always external to the SD card files, meaning the issue lies with the injector, the cable, or the PC itself.
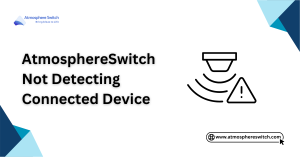
What does a Black Screen or boot loop mean?
A complete black screen after injecting Hekate, or a recurrent boot loop (where the logo appears and disappears), usually signifies that the payload was successfully injected, but the payload itself failed to read the necessary files on the SD card.
When the injection is successful, Hekate takes over and immediately tries to load its critical configuration files, such as boot.ini. If Hekate can’t find these files or if they are corrupted, it simply crashes, resulting in a black screen or forcing the system to reboot, creating a loop.
This error is a strong indicator that you need to examine your SD card’s root directory. The most frequent culprit is placing files in the wrong location or having outdated bootloader files that conflict with the latest Hekate payload.
If you see any flash of color or text before the screen goes dark, you know the payload injection worked, and you can shift your entire troubleshooting focus to the SD card’s file structure. A persistent boot loop after an Atmosphere Switch launch is a signature sign of a deep configuration problem, often related to themes or outdated custom firmware packages that weren’t correctly updated together.
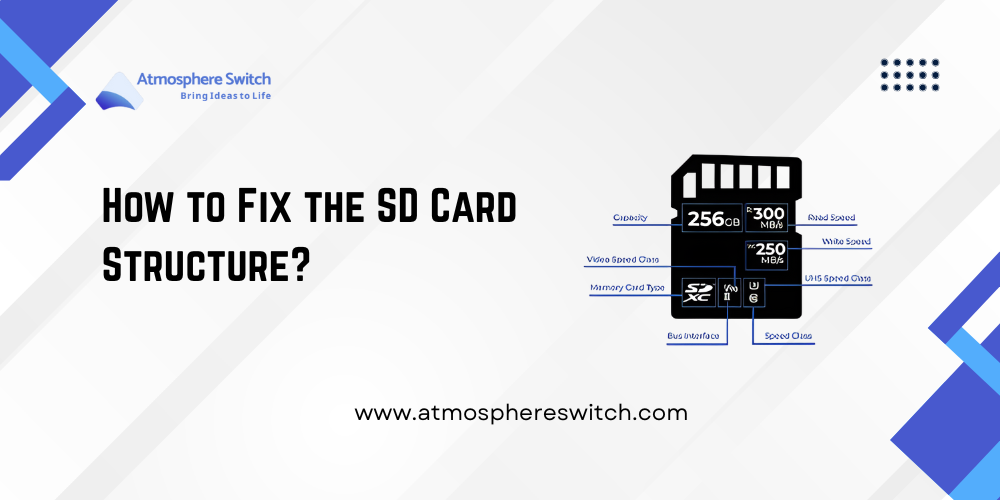
How to Fix the SD Card Structure?
The SD card structure is the lifeblood of your custom firmware setup, and its organization is highly sensitive. Even a single file misplaced or corrupted can prevent Hekate from initializing correctly.
The process for fixing this should always start with caution: preserve your existing data before making any sweeping changes. Once backed up, the repair involves removing and replacing the core bootloader files with known, working, and up-to-date versions.
This ensures that Hekate has the necessary, non-corrupted instruction set to proceed past the initial boot stage and into the main menu.
Why must I back up my existing SD files first?
You must always back up your existing SD files first because recovery often requires deleting and replacing core system folders. If you proceed directly to clean up or overwrite files without a backup, you risk permanent loss of important data.
This includes game saves, your custom firmware settings, NAND backups, and other personal files. Recovering the Hekate bootloader is not worth losing hours of game progress or critical system information.
The easiest way to perform this backup is to insert your SD card into your PC and simply copy the entire contents of the card’s root directory to a separate, new folder on your desktop. Label this folder clearly (e.g., “Switch_SD_Backup_2025-11-18”).
Once the copy is complete, you can confidently proceed with any file manipulation, knowing you have a clean safety net. Even if you ultimately need to format the card, you can later restore important save files from this backup. This simple step turns a potential disaster into a minor inconvenience.
How do I get a clean, up-to-date set of core files?
The best way to get a clean, up-to-date set of core files is to download the latest Atmosphere Switch starter pack directly from the official developers or a trusted, verified source. Do not rely on old backups or mixed files from various sources.
The custom firmware ecosystem evolves rapidly, and mixing old Hekate files with new Atmosphere files is a recipe for instant failure. You should look for a “minimal” or “starter” pack that includes the essential components:
- The latest Hekate payload (.bin file).
- The bootloader folder.
- The atmosphere folder.
After downloading, remove the old, corresponding folders from the root of your SD card. Then, copy the contents of the new starter pack directly to the root. This “clean replacement” ensures that all the crucial configuration files are correct and compatible with the latest firmware standards, eliminating corruption as a potential cause of the boot failure.
What is the exact file path for the Hekate payload?
The Hekate payload itself, which is the .bin file injected from your PC, does not sit on the SD card during the initial boot phase. However, once Hekate is running, it looks for its configuration files in a very specific location.
The Hekate bootloader files are found within the dedicated bootloader folder on the root of your SD card. Specifically, the payload that Hekate loads for the CFW (Custom Firmware) is defined inside the configuration files found there.
The critical file path you need to be concerned with is the existence of the main bootloader folder at the top level of your SD card. This folder contains the hekate_ipl.ini file, which dictates the menu options and launch commands.
If the bootloader folder is missing, misspelled, or empty, Hekate will not be able to proceed past its splash screen, leading to a hang or a crash. You must ensure that the bootloader folder is directly in the SD card root and contains all the necessary configuration files and accompanying payloads like fusee.bin.
Is the Payload or Injector the Issue?
If you’ve confirmed that your SD card file structure is clean and updated, the next step in the troubleshooting process is to pivot your focus to the hardware components responsible for delivering the Hekate payload. This includes the Hekate .bin file itself, the physical RCM jig used to short the pins, and the payload injector device or PC application.
Any of these components can fail independently, causing the launch process to stall before Hekate even has a chance to read the SD card. Troubleshooting here is about substitution—swapping out cables, injectors, and payloads until the failure disappears.
Why does my Hekate .bin file need updating?
Your Hekate payload (.bin file) needs updating because custom firmware relies on constantly evolving system exploits. Nintendo regularly releases firmware updates that patch the vulnerabilities used by older versions of Hekate.
If you attempt to launch an older Hekate payload (e.g., version 5.8) on a console running a newer official firmware (e.g., 17.0.0 or higher), the exploit check will fail. The console’s processor will recognize the payload as invalid or incompatible and immediately reject the injection.
This results in a failure to launch, often indistinguishable from a simple cable or jig failure. It is essential to understand that the payload is the key that unlocks the door to the custom firmware. If the key doesn’t match the lock (the console’s firmware), the boot process ends right there.
Always check the official release notes for Hekate; if your console’s official firmware version has changed recently, you must download the newest .bin file, even if you just updated your Atmosphere Switch files last month.
How can I test if my RCM jig is working correctly?
You can test if your RCM jig is working correctly by observing the console’s behavior while attempting to enter RCM mode, with the console fully powered off. The best way to test this is by using the TegraRcmGUI application on your PC. With the console powered off, hold the Volume Up button, insert the jig into the right joy-con rail, and press the Power button.
If the jig works, your PC should instantly detect the console as an “RCM Device.” If your PC does not detect the RCM device, the jig is either faulty, poorly constructed, or, most commonly, not making a solid electrical connection with the necessary pins.
You should try reseating the jig multiple times, applying slight pressure in different directions. If repeated attempts fail to register the RCM device, you must assume the jig itself is the source of the failure and replace it. A successful RCM entry is a prerequisite for all other steps.
What about errors when using a USB cable?
Errors when using a USB cable are surprisingly common and often overlooked in troubleshooting. Even if a cable can charge your console, it may not be suitable for high-speed data transfer required for payload injection. Many cheap USB-C cables are “charge-only,” meaning they lack the necessary data lines to reliably transmit the Hekate .bin file from your PC to the Atmosphere Switch. If you’ve ruled out the SD card and the jig, the USB cable is your next suspect.
Troubleshoot cable issues:
- Switch the cable: Use a different, high-quality USB-A to USB-C cable that is known to support data transfer (e.g., one that came with a quality smartphone or accessory).
- Try a different port: Plug the cable into a different USB port on your PC, ideally a USB 3.0 port, as power delivery can sometimes stabilize the connection.
- Check Drivers: Ensure the APX driver needed for the RCM connection is correctly installed and not conflicting with other drivers on your PC.
USB errors usually manifest as intermittent connection failures or the payload injection freezing mid-transfer.
What If You Can’t Access Hekate At All?
If you have tried everything verified RCM mode, updated the payload, and replaced your SD card files and still cannot access the Hekate menu, you are in a persistent boot failure state. This indicates a deep-seated configuration issue or, potentially, a problem with auto-boot settings that are overriding your manual launch attempt. This stage of troubleshooting often requires checking hidden or less obvious configuration files that may have been corrupted or improperly modified by prior custom firmware installations. Don’t worry; we still have a few tricks up our sleeve before we consider drastic measures.
How do I check for auto-boot settings in my bootloader?
Auto-boot settings are configuration lines within the Hekate files that tell the bootloader to skip the Hekate menu entirely and launch directly into Atmosphere Switch or the stock firmware. While convenient, these settings can prevent you from seeing the menu if the subsequent launch fails. If the bootloader is crashing mid-launch, the fast auto-boot setting might be forcing the crash instantly, making it seem like Hekate isn’t loading at all.
You need to manually edit the hekate_ipl.ini file located in the bootloader folder on your SD card. Look for lines that contain an autoboot or autoboot_config setting. If a line like autoboot=1 is present, temporarily comment it out by placing a semicolon at the start of the line (e.g., ;autoboot=1). This forces Hekate to pause and display the menu, allowing you to manually select your boot option and observe exactly which choice leads to the failure. This bypasses the crash loop, giving you critical diagnostic visibility.
Is a complete format of the SD card ever necessary?
Yes, a complete format of the SD card is sometimes necessary, but it should always be considered the last resort in the troubleshooting process. Formatting is required when the SD card itself develops physical or logical corruption that simple file deletion cannot fix. Specifically, if the file allocation table (FAT) or the card’s sector data is damaged, the bootloader cannot consistently read the necessary files, leading to intermittent and unpredictable crashes.
The steps for a complete, necessary format are as follows:
- Backup All Data: Copy everything off the card first.
- Use Official Tool: Use the official SD Card Formatter tool (or a similar low-level utility) to perform a full format, not a quick format. This ensures a clean file system.
- Use FAT32 or exFAT: Format the card using the recommended file system (usually FAT32 for maximum compatibility).
- Install Fresh Files: Only then should you copy a freshly downloaded, verified set of Hekate and Atmosphere Switch files to the newly formatted card.
If a clean, fresh install on a newly formatted card still fails to launch Hekate, the issue may be rooted in the console’s internal eMMC or the RCM jig/injector hardware itself.
Conclusion:
Congratulations! By methodically checking the three main failure points—the RCM entry hardware, the Hekate payload file, and the SD card structure—you’ve navigated the complex world of boot failures. Remember that nearly every Hekate launch failure is solvable by simply updating an outdated file or fixing a misplaced folder.
Maintaining an Atmosphere Switch setup requires vigilance, but the ability to self-diagnose these errors is key to long-term enjoyment. Keep your files organized, check for updates regularly, and you’ll keep those dreaded black screens at bay.
FAQs: Quick Fixes for Boot Errors
Q: Why am I getting an “Atmosphere Panic” error after Hekate launches?
A: The “Atmosphere Panic” error means Hekate successfully launched, but the Atmosphere Switch custom firmware itself failed to load. This is almost always caused by outdated or incompatible custom files or modules (e.g., an old version of Atmosphere running on a brand-new official firmware). The solution is to update your entire Atmosphere folder to the latest version.
Q: My PC keeps disconnecting from the console during payload injection. What is the cause?
A: This is nearly always a faulty or charge-only USB cable. The high-speed data transfer required for the payload is failing. Immediately try a different, known-good data cable, or try a different USB port on your PC. It could also be an intermittent RCM connection from a poorly seated jig.
Q: Can I use Hekate to fix a completely bricked console?
A: Hekate and RCM mode are your last and best hope for fixing a soft-bricked console (a software-related issue). If you can still successfully enter RCM mode, you can potentially restore your console’s NAND backup using Hekate’s tools. However, if you cannot enter RCM mode at all, the console may be hard-bricked, which is usually not fixable without specialized hardware tools.
Q: How often should I update my Hekate payload and my Atmosphere Switch files?
A: You should update your Hekate payload and Atmosphere Switch files every time Nintendo releases a new official console firmware update. Even if you don’t update your console’s official firmware, the custom firmware files are updated to maintain compatibility with new games and features. Keep them synchronized to avoid unexpected boot errors.
Latest Post: