
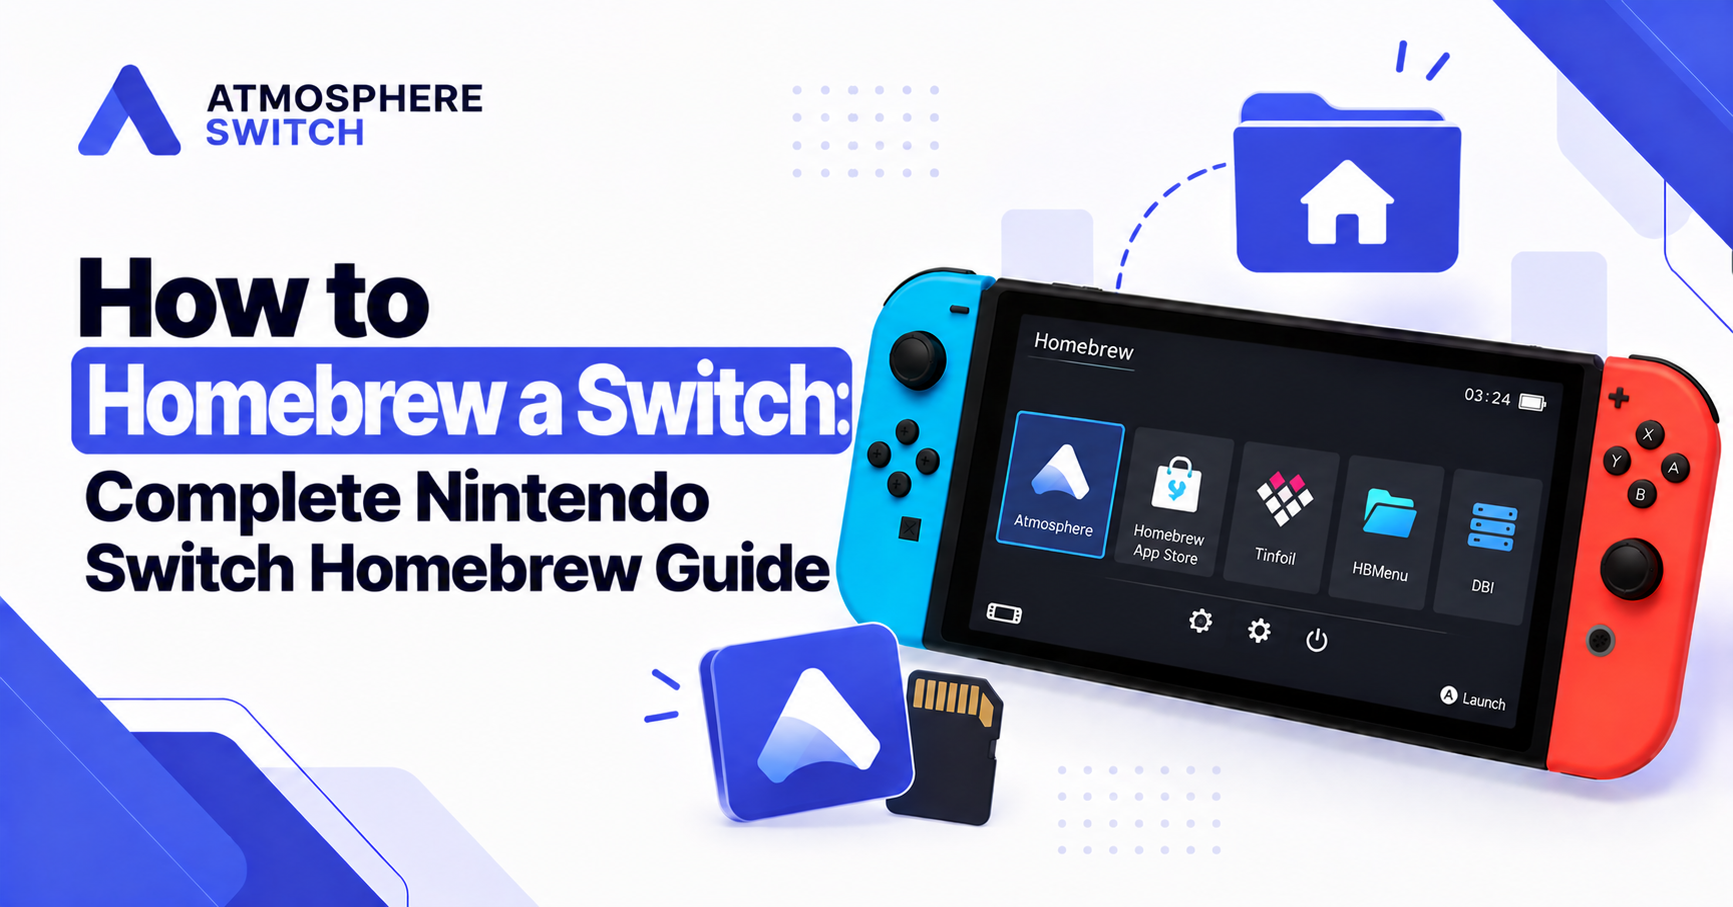
Nintendo Switch homebrew gives compatible-console owners access to community-made software, original games, utilities, development tools, emulators for legally owned content, customization options, and accessibility-focused applications. The most common Switch homebrew environment is Atmosphère, a custom firmware project that extends the standard Nintendo Switch operating system.
Homebrew can be rewarding, but it is not a one-click process. A successful setup depends on your exact Switch model, the state of its hardware, the firmware version, your microSD card, and the reliability of the files you use. It also involves real risks: outdated tutorials can leave you with boot errors, storage mistakes can damage data, and unauthorized use may violate copyright law or Nintendo’s service rules.
This guide explains how to homebrew a Nintendo Switch responsibly, with a focus on legitimate homebrew use rather than unauthorized games, piracy, or online-rule evasion.
Quick answer: To homebrew a compatible Nintendo Switch, first confirm which homebrew path your console supports, prepare a reliable FAT32 microSD card, install the official Atmosphère files and a compatible boot method, create backups, then boot into the homebrew environment and launch trusted
.nroapps from the/switch/folder. Most Switch homebrew requires custom firmware such as Atmosphère.
Table of Contents
ToggleWhat Is Nintendo Switch Homebrew?
Homebrew is unofficial software created by independent developers for a locked-down platform such as the Nintendo Switch. Homebrew apps can include original games, media players, development utilities, file-management tools, accessibility projects, save-management tools, and other community software.
On Nintendo Switch, most homebrew requires a custom firmware environment. Atmosphère switch is the most widely recognized project in this space. It modifies or extends parts of the Switch operating system known as Horizon to enable advanced homebrew functionality.
It is important to separate legitimate homebrew from piracy. Homebrew is not automatically illegal, but using modified hardware or software to access, copy, distribute, or play unauthorized commercial content can create serious legal and account-related consequences.
A responsible homebrew setup is built around:
- Legitimate, trusted homebrew applications
- Careful SD-card management
- Accurate compatibility checks
- Regular backups
- Respect for copyright and platform rules
- Avoiding unknown “all-in-one” packs and pirated files
Is Your Nintendo Switch Compatible With Homebrew?
Not every Nintendo Switch can be homebrewed in the same way. Compatibility depends heavily on the hardware revision.
Some first-generation Switch consoles, often referred to as unpatched V1 units, can use a software-based boot path. Later patched V1 systems and newer Switch hardware do not support that same path and may require specialized hardware installation before they can run custom firmware.
This distinction is critical. A guide written for an original unpatched Switch may be useless—or risky—if you own a patched V1, Switch Lite, or OLED model.
How to check compatibility safely
Before downloading files or changing your console:
- Identify the exact Switch model you own.
- Check the serial number using a current, reputable compatibility guide.
- Confirm the hardware category before following any setup instructions.
- Do not rely only on YouTube videos, old Reddit posts, or random download pages.
- Use a maintained written guide that matches your exact console and firmware situation.
The NH Switch Guide specifically warns that video guides often become outdated and recommends carefully following updated written documentation instead.
If your console is not compatible with the method you expected, stop before attempting modifications. Do not force a process meant for another Switch revision.
What You Need Before You Homebrew a Switch
A stable Nintendo Switch homebrew setup starts with the right equipment and preparation.
Essential requirements
You will typically need:
- A compatible Nintendo Switch.
- A Windows, macOS, Linux, ChromeOS, or supported Android device.
- A quality microSD card and card reader.
- A USB data cable where your setup requires one.
- Official Atmosphère files.
- A compatible bootloader or payload method.
- Enough time to read each step carefully.
- A reliable power source for the Switch.
The NH Switch Guide estimates that a careful setup can take at least an hour, with certain device backups taking an additional 10 to 30 minutes depending on the Switch model and SD-card speed.
Choose a reliable microSD card
Your microSD card is the foundation of your homebrew files. A low-quality, counterfeit or failing card can cause corruption, missing applications, boot failures and data loss.
For a full-featured setup, a 128GB or larger card is often more practical, particularly if you intend to create backups or use emuMMC. FAT32 is widely recommended over exFAT because exFAT setups are more prone to corruption in Switch homebrew use.
Before using a card:
- Buy from a reputable retailer.
- Test its capacity and integrity if possible.
- Back up any existing files.
- Format it correctly using a trusted tool.
- Safely eject it every time you remove it from a computer.
Important Risks and Legal Considerations
Before you homebrew a Switch, understand the trade-offs.
Potential risks
Homebrew can involve:
- Loss of Nintendo warranty coverage for damage related to unauthorized modifications.
- Boot failures caused by mismatched or corrupted files.
- SD-card data corruption.
- Lost access to online services or account penalties.
- Problems after an official Switch firmware update.
- Accidental loss of saves or system data if storage tools are used incorrectly.
Nintendo states that unauthorized products designed to circumvent its security measures may damage products and that damage caused by such products is not covered by warranty.
Use homebrew responsibly
This guide does not support downloading, installing or distributing commercial games you do not own or have permission to use. Avoid tools, websites and packages that promote unauthorized game files.
Use homebrew for legitimate purposes, such as:
- Developing your own Switch software.
- Running open-source applications.
- Trying original homebrew games.
- Using accessibility or media utilities.
- Managing your own authorized data.
- Learning about open-source console development.
- Applying lawful modifications to games you own, where permitted.
Understanding Atmosphère, Hekate and Homebrew Menu
A few key terms appear in nearly every Nintendo Switch homebrew guide.
| Term | Meaning |
|---|---|
| Atmosphère | The most common custom firmware environment for Switch homebrew |
| Hekate | A graphical bootloader that can launch Atmosphère and provide system tools |
| fusee | Atmosphère’s own boot payload |
| Homebrew Menu | The menu used to open homebrew apps |
.nro | The standard executable format for many Switch homebrew apps |
| sysMMC | The Switch’s real internal storage environment |
| emuMMC | An emulated or redirected storage environment on the SD card |
Atmosphère
Atmosphère is a customized firmware project made up of several components. These components support the custom boot process, system modifications, custom modules and other CFW functions.
Hekate
Hekate is a popular graphical bootloader. It can launch configured Switch environments, load payloads, manage emuMMC, provide storage-related tools and show device information.
Homebrew Menu
The Homebrew Menu, also called hbmenu, is where you browse and launch compatible homebrew applications. It scans the microSD card for .nro files.
How to Prepare Your Switch microSD Card
Once you have confirmed compatibility and selected an up-to-date guide, prepare the microSD card carefully.
Step 1: Back up your SD card
If the card already contains Nintendo data, copy its contents to a safe location on your computer before formatting or adding files.
Step 2: Format the card correctly
For most homebrew setups, FAT32 is the preferred file system. This can reduce the risk of corruption associated with exFAT in homebrew use.
Step 3: Copy official Atmosphère files
Download Atmosphère only from the official project source. Extract the archive and copy its contents to the root of the microSD card.
Your card may then include directories such as:
/atmosphere/
/bootloader/
/switch/
/Nintendo/
Do not place the entire extracted download folder inside another folder by mistake. For example, this is usually incorrect:
/SD-card/Atmosphere-release-folder/atmosphere/The correct structure places the important folders directly at the card root:
/SD-card/atmosphere/
/SD-card/switch/
Step 4: Add Hekate files if your setup uses Hekate
If your selected setup uses Hekate, copy the official bootloader folder to the SD-card root. Hekate uses the bootloader/hekate_ipl.ini file for boot entries and stores launchable payloads in bootloader/payloads.
Step 5: Safely eject the card
Always use your operating system’s safe-eject option before removing the microSD card. Pulling it out while files are still being written can corrupt the setup.
How to Homebrew a Nintendo Switch: Safe Setup Workflow
Because the exact exploit and boot process is hardware-specific, the safest complete approach is a structured workflow rather than one universal command list.
1. Confirm your console path
Use a current written compatibility guide to determine whether your console supports a software-based method or requires a different route. Do not guess based on the console’s color, purchase date or packaging alone.
2. Read the full guide before starting
Read the entire relevant guide once before taking action. This helps you understand when backups, SD-card partitioning or reboot steps will occur.
Avoid skipping ahead. Some setup paths require decisions that are difficult to reverse without reformatting the SD card.
3. Prepare the microSD card
Format the card correctly, copy the official Atmosphère files and add the bootloader files required by your guide.
4. Create backups when prompted
A backup is not optional busywork. It is your recovery option if you later encounter an SD-card problem, an update issue or a storage mistake.
Store backups in more than one safe location, such as an external drive and a secure cloud-storage account.
5. Start your established homebrew boot method
Use only the method that applies to your compatible Switch and chosen guide. Depending on the setup, this may launch Atmosphère directly through the fusee.bin payload or open Hekate first.
Atmosphère’s Fusée component acts as a custom bootloader and is distributed as a standalone payload.
6. Boot Atmosphère
If you enter Hekate, open Launch and select the Atmosphère boot option configured for your setup. Hekate configurations can define different entries for custom firmware, emuMMC and stock firmware.
7. Open the Homebrew Menu
Once Atmosphère is running, use your selected Homebrew Menu launch method. A properly configured setup will display your installed .nro homebrew applications.
How to Install and Use Homebrew Apps
Homebrew applications commonly use the .nro format. To install one, copy it to the /switch/ folder on the root of your microSD card.
A typical layout looks like this:
/switch/AppName/AppName.nroSwitchbrew notes that homebrew apps are installed by copying the required files to the root /switch/ folder or an appropriate subdirectory. The Homebrew Menu scans the SD card for .nro files.
Safe app-installation checklist
Before installing a homebrew app:
- Download it from the developer’s official page or repository.
- Read its documentation.
- Confirm it supports your Atmosphère and Switch firmware version.
- Copy every required file, not just the
.nro. - Avoid applications that promote piracy or unknown system patches.
- Launch it only after backing up important data.
If an app does not appear in the Homebrew Menu, check that:
- The
.nrofile is inside/switch/. - The card was safely ejected.
- The app is not hidden inside too many nested folders.
- The SD card is not corrupted.
- The app supports your current environment.
sysMMC vs emuMMC: What Is the Difference?
This is one of the most important concepts for a Nintendo Switch homebrew setup.
sysMMC
sysMMC means the Switch’s real internal storage. Changes in this environment affect the actual console system.
emuMMC
emuMMC is an emulated or redirected storage environment, generally stored on the microSD card. It can be useful for advanced users who want separation between different environments.
Neither option is automatically “best” for every person. An emuMMC setup requires more SD-card space and careful management, while sysMMC can be simpler but carries a different set of risks. Do not create, repartition, restore or delete an emuMMC unless you are following a guide written specifically for your setup.
Hekate includes emuMMC creation and management features, as well as backup and restore tools.
How to Update a Homebrew Switch
Updates are one of the most common reasons that a homebrew Switch stops booting. The solution is planning—not panic.
Before updating Switch firmware
Check the following first:
- Does the latest Atmosphère version support the intended Switch firmware?
- Does your Hekate version support it?
- Are your custom system modules compatible?
- Have you backed up the SD card?
- Are your most important homebrew apps compatible?
Atmosphère’s official changelog records support for specific Switch system versions and can also note changes that affect homebrew applications.
General update order
A safer order is:
- Back up your SD card.
- Check the official Atmosphère release notes.
- Update Atmosphère files.
- Update
fusee.binif required. - Update Hekate if your setup uses it.
- Check optional homebrew apps and modules.
- Test booting.
- Only then update Nintendo Switch firmware when compatibility is confirmed.
Never assume that a new official Nintendo update will work immediately with your existing CFW setup.
Common Nintendo Switch Homebrew Problems
Homebrew Menu does not show my apps
Confirm that the .nro files are in the /switch/ directory. If the card was edited on macOS or another operating system, file attributes may sometimes create issues. Hekate includes an Archive Bit Fixer tool that may help in relevant cases.
Atmosphère does not boot
Common causes include:
- Missing
/atmosphere/files - Outdated payload files
- An incompatible Switch firmware version
- Corrupted microSD-card data
- Outdated custom system modules
- A drained battery
Start with the simplest fix: fully power off the Switch, charge it, verify the SD card, then replace the core files with a clean copy from the official source.
Hekate works, but Atmosphère does not
This can indicate an incorrect or outdated boot entry. Review your Hekate configuration carefully. Do not copy random hekate_ipl.ini files from another user because their setup may be different from yours.
A fatal error appears after an update
This is often caused by outdated modules or leftover files. Back up your SD card, install clean official core files and then restore optional add-ons one at a time until you find the incompatibility.
Best Practices for a Stable Homebrew Setup
A good homebrew setup is mostly about consistency.
- Use FAT32 on a quality SD card.
- Keep a complete SD-card backup.
- Update only after checking compatibility.
- Download Atmosphère, Hekate and apps from official sources.
- Keep optional customizations to a minimum.
- Never interrupt storage operations.
- Label your backups with dates and versions.
- Avoid random “preconfigured packs.”
- Do not use homebrew for unauthorized commercial content.
- Read current written guides instead of depending on old videos.
Frequently Asked Questions
Can every Nintendo Switch be homebrewed?
No. Different Switch hardware revisions have different homebrew paths. Some original V1 consoles can use a software-based approach, while patched consoles and later models may require specialized hardware installation.
What is the best CFW for Nintendo Switch homebrew?
Atmosphère is the most widely used custom firmware project for Nintendo Switch homebrew. It provides the environment needed to run most homebrew applications.
Where do Nintendo Switch homebrew apps go?
Homebrew apps normally go in the /switch/ folder on the root of your microSD card. Most apps use the .nro format.
Do I need Hekate for Switch homebrew?
Not always. Atmosphère can be started with its own fusee payload, while Hekate is a popular graphical bootloader that adds launch options, payload tools and emuMMC management.
What SD card should I use for homebrew?
Use a genuine, reliable microSD card. A 128GB or larger FAT32-formatted card is a practical choice if you want room for backups and an emuMMC setup.
Is Nintendo Switch homebrew safe?
Homebrew has risks. Incorrect files, bad SD cards, interrupted storage operations and incompatible updates can cause problems. It can also affect warranty coverage and online-service access. Back up data and use only trusted sources.
Conclusion
Homebrewing a Nintendo Switch can open the door to legitimate homebrew apps, open-source projects, development tools and new ways to personalize a compatible console. The key to success is not rushing the process. First, confirm your Switch model and compatibility path. Then prepare a reliable FAT32 microSD card, use official Atmosphère and Hekate files, create backups, and follow an up-to-date written guide for your exact hardware.
Keep your setup clean, avoid piracy-related downloads, check compatibility before every update, and treat storage tools with care. With those habits in place, Nintendo Switch homebrew becomes far more manageable, stable and useful.
Latest post:
- How to Homebrew a Switch: Complete Nintendo Switch Homebrew Guide
- How to Update Nintendo Switch: Complete Step-by-Step Guide
- How to Use Atmosphère on Nintendo Switch: Complete CFW Guide for Homebrew Users
- How to Update Switch Firmware With Atmosphere: Complete Step-by-Step Guide
- How to Install XCI on Switch Atmosphere: What You Need to Know